"Ahhh - so much better.
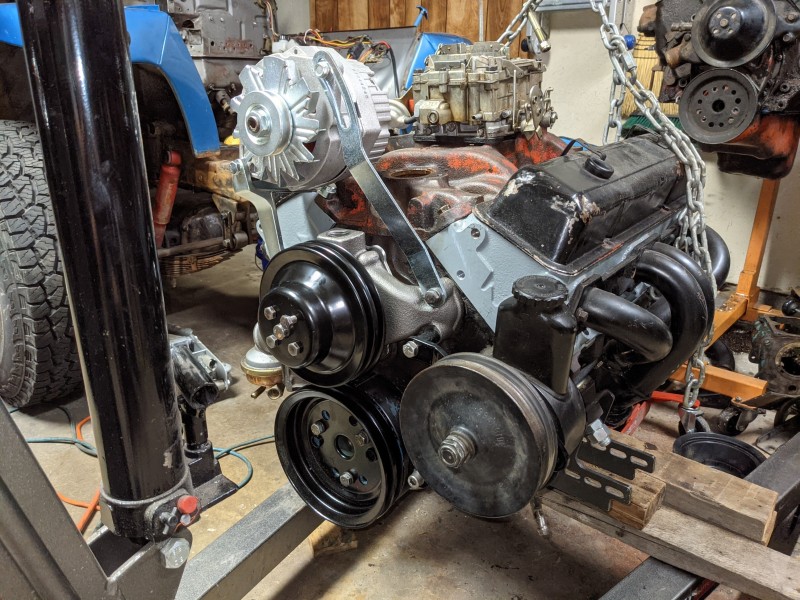
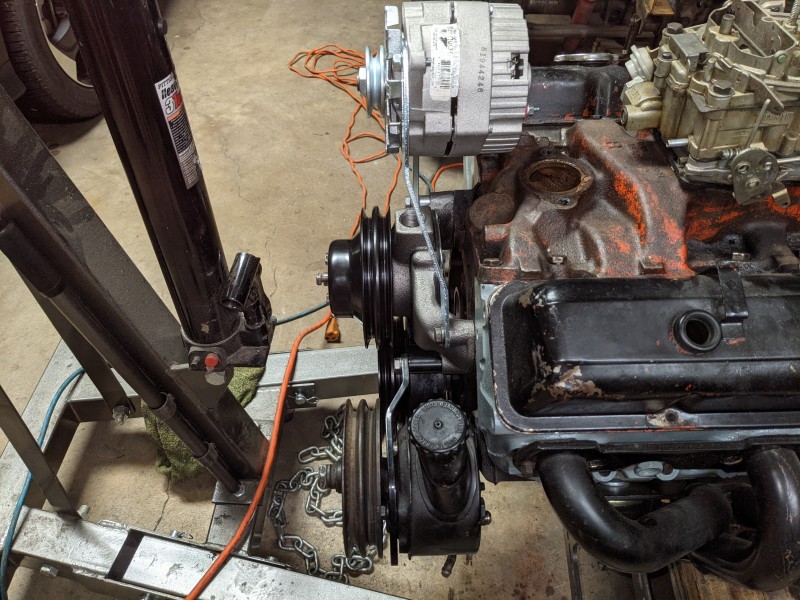
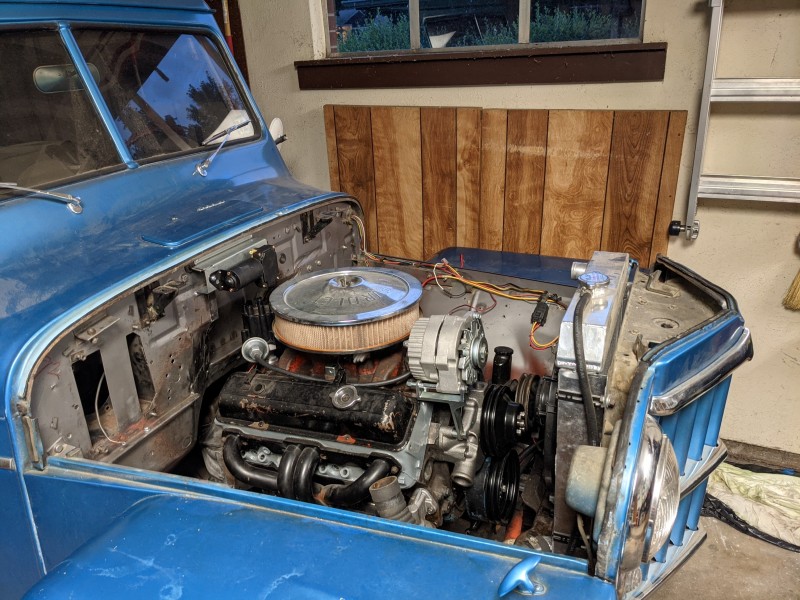
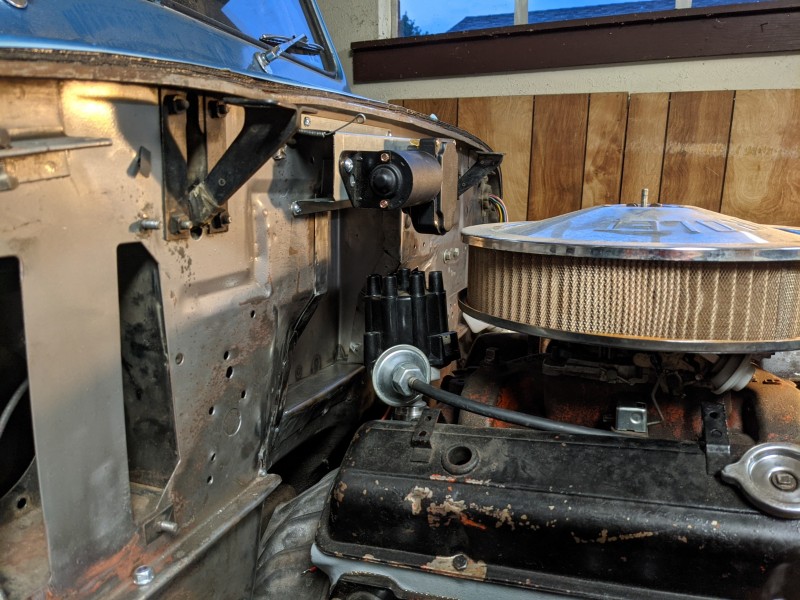
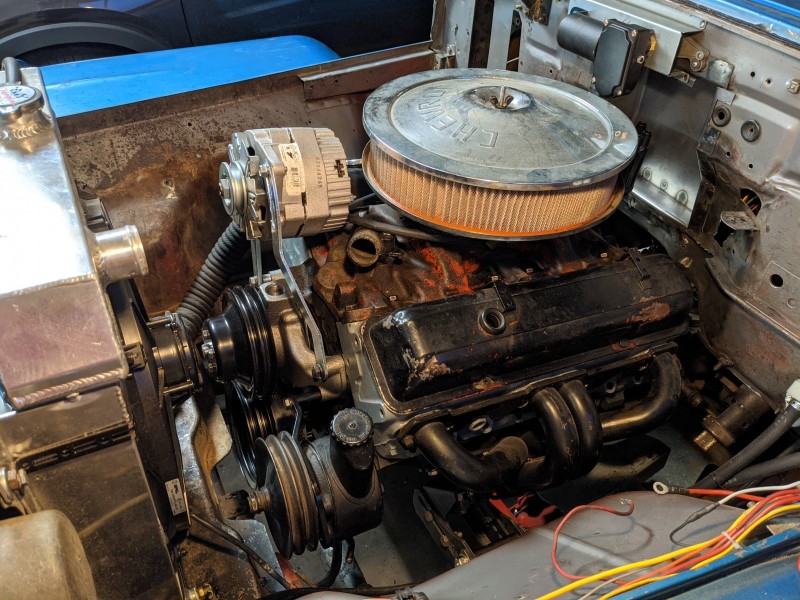
Let me visualize - crank will have two belts contacting it. WP will have two belts contacting it. One of the belts will go to the Alt with the other to the PS, yes?
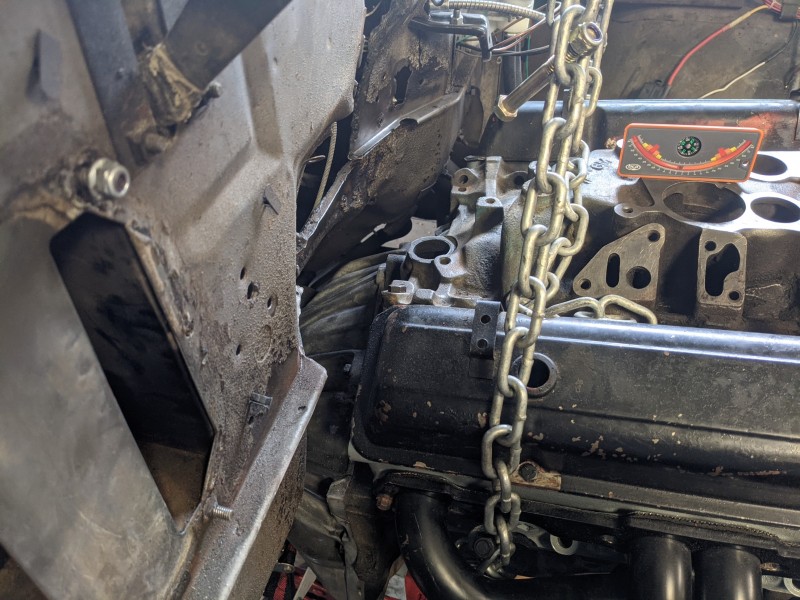
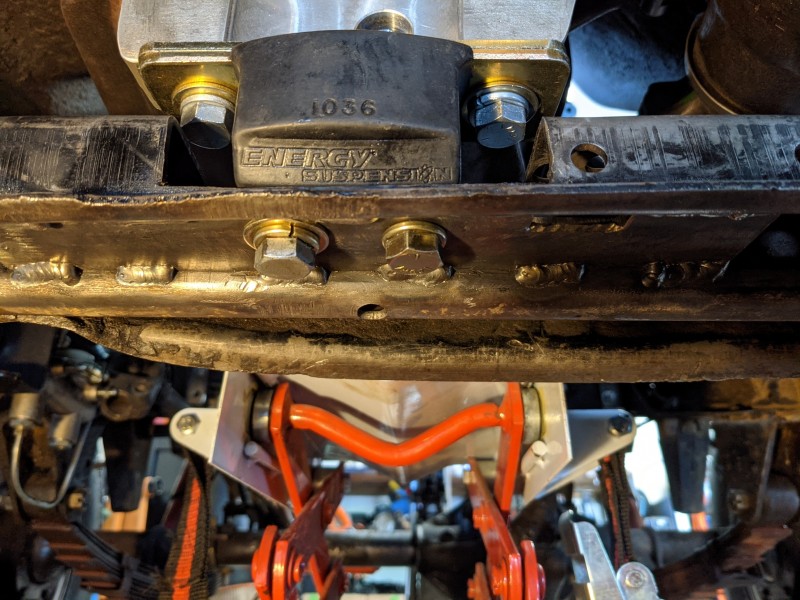
One of my concerns, with the prior post, was that only one belt would power the water pump AND the second groove of the water pump would power the alt. That condition could likely see what I encounter - the water pump being a high drag item at higher engine RPM - belt slippage at high engine RPM. This is an issue on my jeep's 'new' belt routing with the AC / air pump."
yes to all the above....with the way the high and center alternator mounts, the inner belt will make a very tall and skinny triangle. It will go from the crank, up to the alternator, and go around 135 degrees or so, returning down to the wp with a small amount of pulley contact (maybe 45 degrees) at the wp on its way down and to the crank...the inner wp groove won't get much 'drive', but it will get a little, and the alternator will get lots of drive from the crank. Whereas the outer water pump groove will have a proper amount (near 120 degrees) of belt contact before going to the pump which will have about 120 degrees of contact and then back to the crank where it will have well 120 degrees of contact (the belt path will be close to an equilateral triangle).


 Reply W/Quote